Get the Crispiest Brussels Sprouts: Why Smashing Works Wonders
Forget everything you thought you knew about cooking Brussels sprouts. If your previous attempts at roasting left you with either burnt outer leaves and raw centers, or disappointingly soggy results, prepare for a revelation. There's a culinary hack sweeping kitchens and delighting even the most skeptical palates: the art of the smashed roasted brussels sprouts. This ingenious technique transforms humble sprouts into intensely flavorful, irresistibly crispy bites that are truly in a league of their own. It's not just a trend; it's a game-changer for anyone seeking the best brussels sprouts experience.
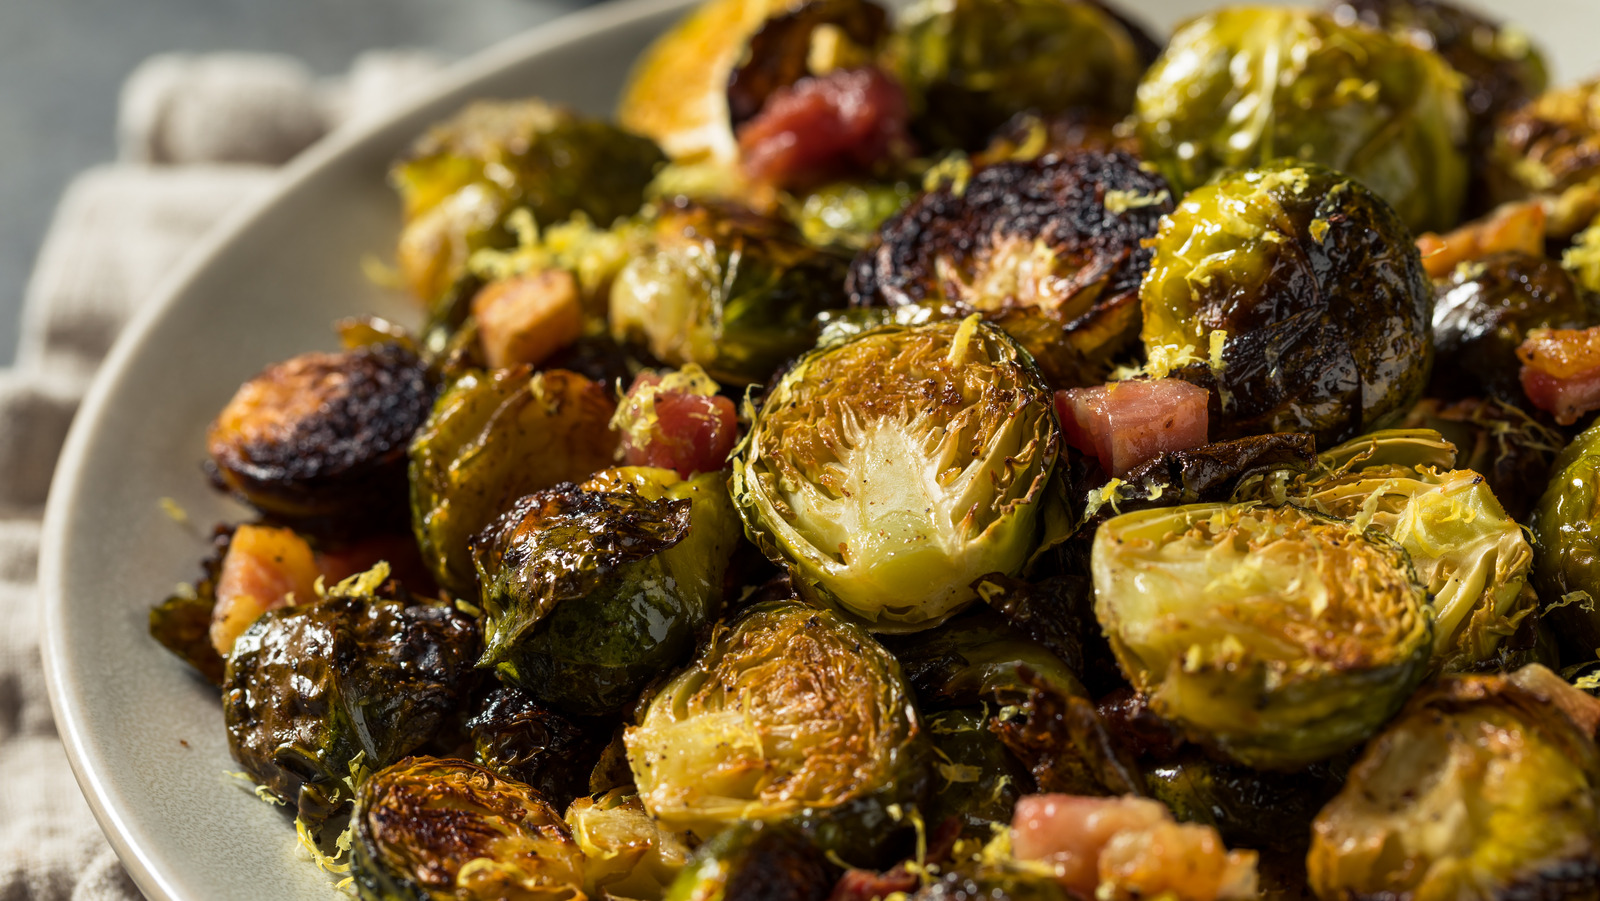
For years, Brussels sprouts have graced restaurant menus as a popular appetizer, often drizzled with tempting glazes like maple, balsamic, or hot honey. While delicious, these restaurant portions are often fleetingly small, and frankly, you can achieve superior results right in your own kitchen with this simple, satisfying method. The magic lies in creating more surface area, allowing for unparalleled browning and crisping that elevates the sprout from a mere side dish to a crave-worthy culinary star.
The Science Behind the Smash: Maximizing Flavor and Crispiness
The concept of smashing vegetables before roasting isn't entirely new; smashed potatoes have long been celebrated for their contrasting crispy exteriors and tender interiors. With Brussels sprouts, however, the effect is even more dramatic and uniquely appealing. When you smash a pre-cooked Brussels sprout, it doesn't just flatten; its individual leaves begin to fan out and separate. This creates an abundance of new edges and surfaces exposed to the direct heat of the oven.
Why is this important? It all comes down to the Maillard reaction – the chemical process responsible for the delicious browning and complex flavors in many cooked foods. More surface area means more opportunities for this reaction to occur. As the sprouts roast, these newly exposed surfaces caramelize, developing a deep, nutty flavor and an incredible crunch that’s simply unachievable with whole roasted sprouts. The outer leaves become beautifully lacy and crisp, almost like gourmet chips, while the inner core remains wonderfully tender, offering a delightful textural contrast. If you're a fan of kale chips, you'll be thrilled by the bonus crispy bits that loosen and crisp up on the pan!
This method doesn't just make them taste better; it also makes them incredibly appealing. We've seen firsthand how smashing these little green gems can turn sprout skeptics into avid fans. Kids who once pushed them aside will be reaching for seconds, and at potlucks, a platter of these disappear in minutes. It's a testament to the power of texture and enhanced flavor.
Your Step-by-Step Guide to Perfectly Smashed Roasted Brussels Sprouts
Achieving truly epic smashed roasted brussels sprouts involves a crucial two-step cooking process. Trying to smash raw sprouts would be futile, and simply roasting them until they're soft enough to smash would likely result in an over-charred, bitter mess. Here’s how to master this technique:
- The Jump-Start (Boil or Steam): Your first step is to gently pre-cook the Brussels sprouts until they are fork-tender but not mushy. This softens them enough for smashing without compromising their structural integrity.
- Boiling Method: Bring a pot of salted water to a rolling boil. Add your trimmed Brussels sprouts and boil for 5-8 minutes, depending on their size. They should be tender enough to easily pierce with a fork, but still hold their shape.
- Steaming Method (Microwave): For a quicker option, place sprouts in a microwave-safe dish with about 1/4 cup of water. Cover and microwave on high for 6-8 minutes, or until tender. Be cautious of steam when opening the dish!
Once tender, drain the sprouts thoroughly. Excess moisture is the enemy of crispiness, so make sure they are as dry as possible.
- The Smash: Arrange the par-cooked sprouts on a lightly greased baking sheet. Using the bottom of a sturdy glass, a mug, or even a potato masher, gently but firmly press each sprout until it flattens and its leaves begin to fan out. Be careful not to obliterate them; you want them flattened and splayed, not completely pulverized. This is the satisfying part where you see all that beautiful surface area being created!
- Season and Roast: Drizzle your smashed sprouts generously with olive oil. This is crucial for crisping and flavor. Season them well with salt and freshly ground black pepper. Now, for the roasting.
Expert Roasting Tips for Ultimate Crispiness:
- Direct Contact is Key: For the best browning and crispiness, always roast your smashed roasted brussels sprouts directly on the metal of the baking sheet. Resist the urge to use parchment paper or silicone baking mats, as these can create a barrier that prevents direct heat transfer and leads to less crispy results.
- Grease Lightly: A thin layer of oil on the baking sheet prevents sticking, making it easier to flip the sprouts later and ensuring no crispy bits are left behind.
- High Heat: Roast at a high temperature, typically 400-425°F (200-220°C). This intense heat promotes rapid browning and caramelization.
- Flip for Evenness: Depending on your oven, you might want to flip the sprouts halfway through the roasting time to ensure even browning on both sides.
- Don't Crowd the Pan: Give your sprouts space! An overcrowded pan will steam instead of roast, leading to soggy results. Use multiple baking sheets if necessary.
Roast for approximately 20-30 minutes, or until deeply golden brown and crispy to your liking. The edges should be almost charred but not bitter.
Beyond the Basic: Creative Flavor Pairings & Serving Ideas
While a simple salt, pepper, and olive oil seasoning yields fantastic results, the increased surface area of smashed roasted brussels sprouts is also a canvas for incredible flavor customization. The nooks and crannies created by smashing are perfect for holding onto seasonings, ensuring every bite is packed with deliciousness.
Flavor Enhancements:
- Everything Bagel Seasoning & Parmesan: As suggested by the experts, this combination delivers an earthy saltiness that pairs beautifully with the sprouts' natural flavors. Add the Parmesan and seasoning before roasting.
- Sweet & Tangy Glazes: Drizzle with maple syrup, balsamic glaze, or hot honey during the last 5-10 minutes of roasting for a sticky, sweet, and savory finish.
- Spicy Kick: Toss with a pinch of red pepper flakes, smoked paprika, or a dash of your favorite hot sauce before roasting.
- Garlic & Herb Infusion: Add minced garlic, fresh rosemary, or thyme to the sprouts before roasting.
- Citrus Brightness: A squeeze of fresh lemon or lime juice over the finished sprouts provides a bright, acidic counterpoint that elevates all the other flavors.
- Umami Boost: A dash of soy sauce, tamari, or even nutritional yeast can add a deeper, savory dimension.
Serving Suggestions:
These incredibly smashed brussels sprouts are versatile enough to be served in many ways:
- Crowd-Pleasing Side: They make an excellent accompaniment to roasted chicken, steak, pork chops, or fish.
- Appetizer Extravaganza: Serve them on their own with a dipping sauce (like aioli, ranch, or a creamy sriracha dip) for an addictive appetizer.
- Salad Topper: Add them warm or cooled to a grain bowl or green salad for a textural and flavor boost.
- Snack Attack: Honestly, these are so good you'll find yourself eating them straight from the pan!
Tips for Success & Troubleshooting Common Pitfalls
Even with a simple recipe, a few insider tips can make all the difference:
- Selecting Sprouts: Look for firm, bright green sprouts that are tightly closed. Avoid those with yellowed or bruised leaves. Smaller sprouts tend to be sweeter and more tender.
- Frozen Sprouts Work! Don't have fresh? Frozen Brussels sprouts can absolutely be used. Microwave them in their package for about 2 minutes less than the package directs, then drain and proceed with smashing and roasting. While they might not achieve *quite* the same level of crispiness as fresh, they'll still be incredibly delicious.
- Cleaning Up: If you find stubborn stuck-on bits after roasting, don't despair. A good quality scrubber (like a Scrub Daddy type) usually does the trick. For tougher spots, a sprinkle of Bar Keeper's Friend works wonders. Remember, a browned patina on your baking sheets isn't a bad thing; it can actually create a natural non-stick surface over time!
- Bitterness Be Gone: If you've found Brussels sprouts bitter in the past, the smashing and roasting method often mitigates this. The high heat caramelizes their natural sugars, mellowing any bitterness. Blanching them in salted water also helps draw out some of the bitter compounds.
The beauty of this method is its ability to transform an often-maligned vegetable into something truly extraordinary. It’s a bit more effort than a simple toss-and-roast, but the payoff in texture and flavor is absolutely worth it.
Conclusion
The quest for the perfect, crispy Brussels sprouts ends here. By embracing the simple yet revolutionary technique of smashing, you unlock an incredible world of texture, flavor, and culinary satisfaction. From their lacy, crisp edges to their tender, almost creamy centers, smashed roasted brussels sprouts are a testament to how a little extra effort can yield remarkably delicious results. They’re proof that even the most common vegetables can be elevated to show-stopping status. So next time you're planning a meal, skip the ordinary and smash your way to sprout perfection – your taste buds (and your guests) will thank you!
